All the FPS and PubG lovers out there..
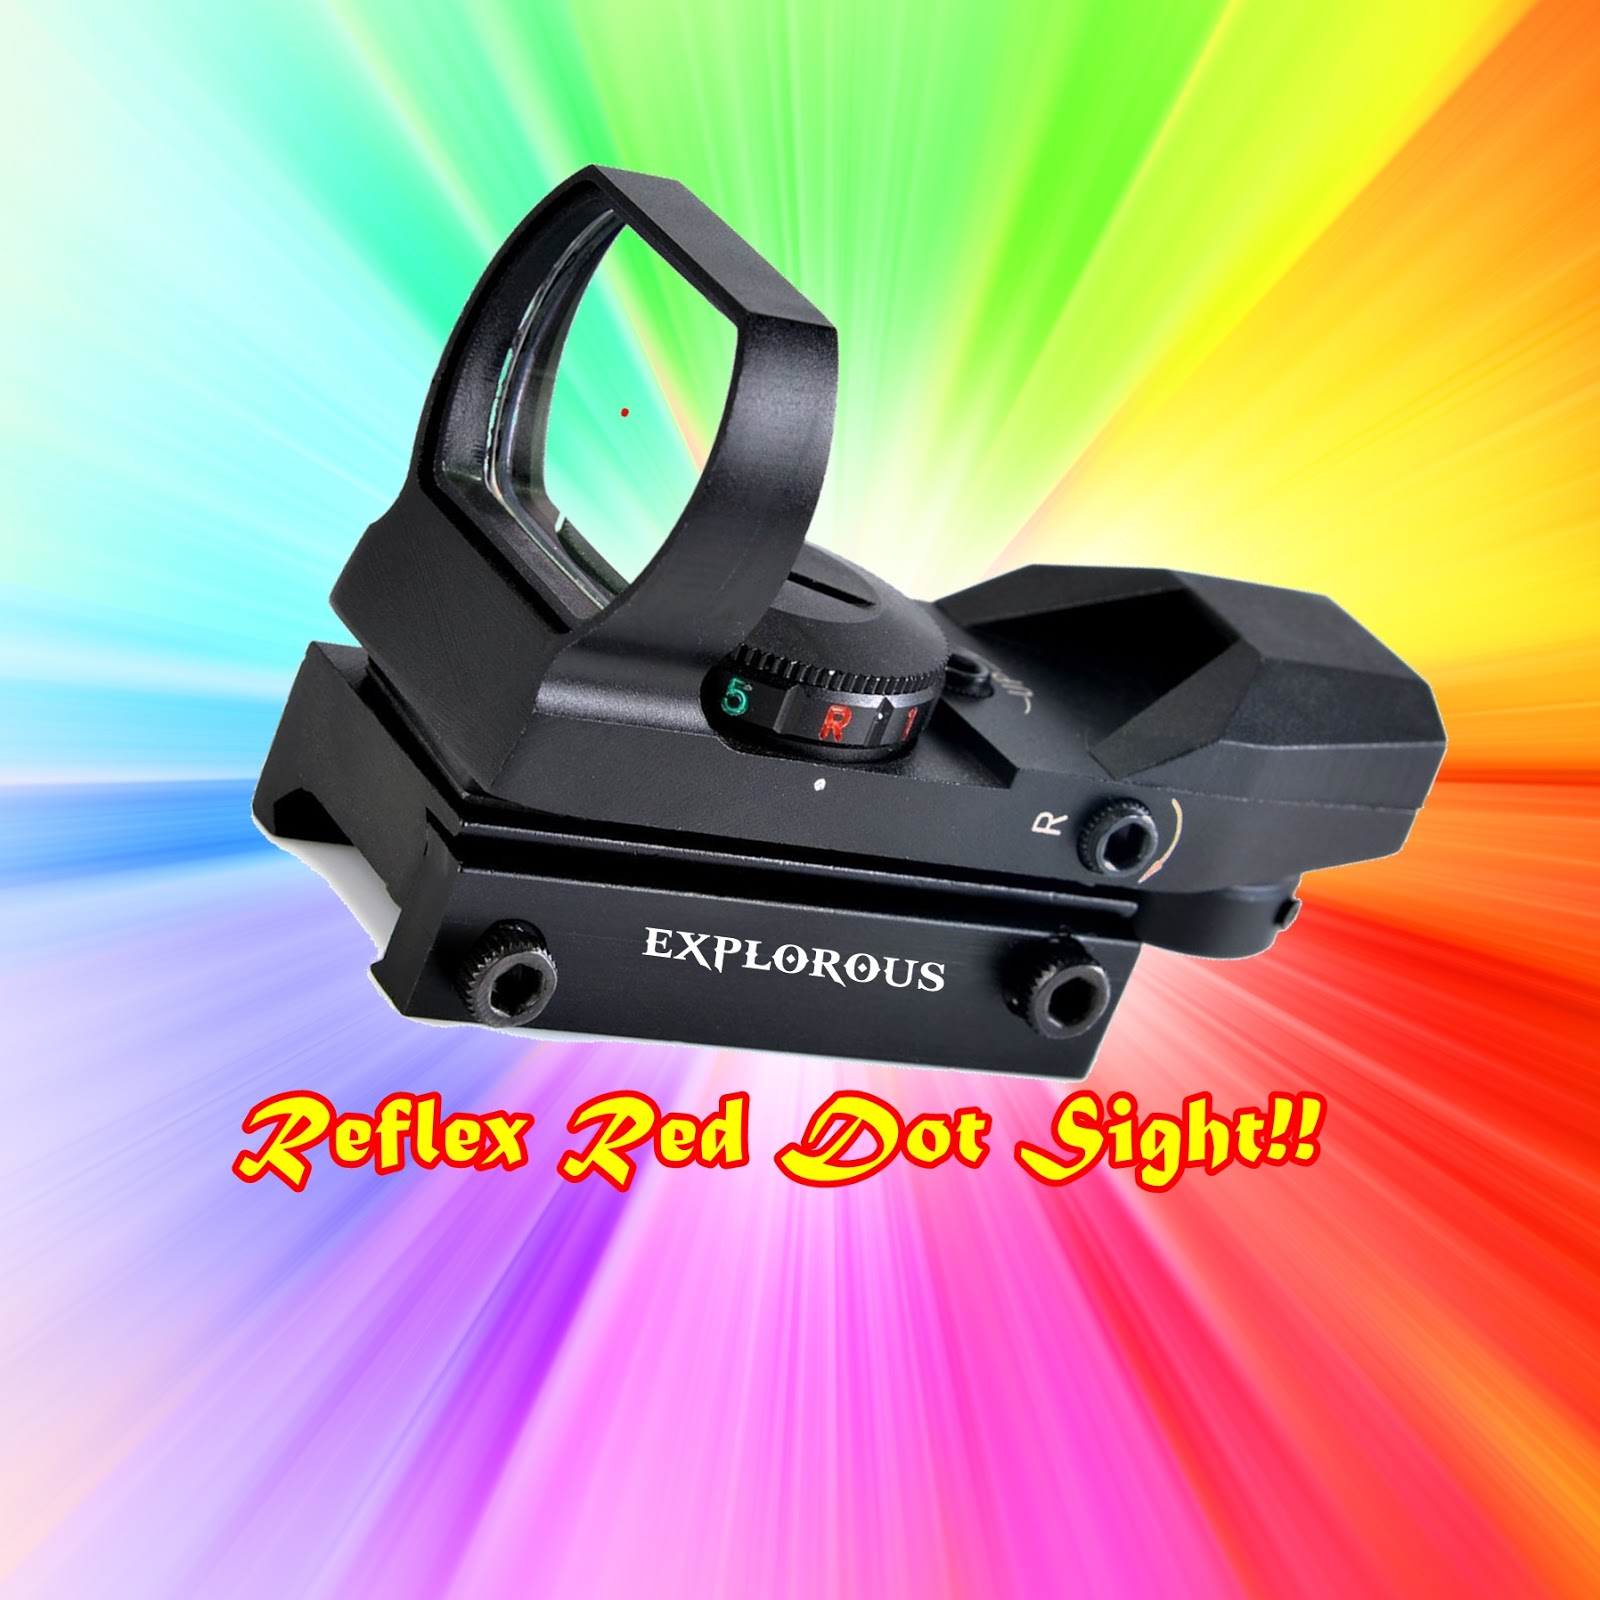
Ever wondered how a red dot sight actually works? Let's make one ourselves, and in the course we'll understand how it works too. The pic above shows an actual reflex red dot sight, ours would be much simpler than the actual one. First take a look how it actually looks:
So if you haven't noticed yet, this sight has almost nil PARALLAX. This means that suppose if you move your head to one side, the red dot moves with your line of sight. Umm, think of looking an apple through the red dot, if we had just painted the dot on the visor, the dot would stay on its place even if you move your head a bit sideways, and you won't be able to hit the apple from an angle.
But in our design, which is the basic reflex design, the dot floats on the visor, and it'll appear to move with your head, providing much more accuracy than your regular red dot, and you can still hit the apple accurately from an angle too. Go observe the effect again in the video.
Now let's make it. Things you'll need:
- a cardboard
- hobby knife, glue
- an old CD case or any transparent plastic piece for the video
- LED and batteries
- wires and all for the circuit
- glue gun
Make the body on the cardboard and cut it out, glue the sides. Trace the window opening on the transparent plastic, and cut it with a hot knife. Make the simple LED circuit and set it up in the sight. Push up the LED from a small opening and cover it from three sides, so the LED shines only towards the visor. Now you can draw pierce a reticle/dot on an opaque black paper and cover the open side of the LED, so finally just a dot shines on the visor.
Now glue the visor/screen on the body and test if your LED is bright enough to reflect on the visor. Move your head while looking through the sight and aiming at an object. If the dot stays on it, well and good, if it doesn't, then you can make the following modifications:
- increase the distance between the dot and the visor
- curve the screen a bit, like the curve TVs, heating it will make it easier
If you paid attention in your elementary science classes, you must have understood the principle behind it. The dot gets partially reflected and partially refracted through the screen, and the virtual image on the screen is formed at the same distance behind the screen, as the distance between the LED and the screen.
As the dot is actually a virtual image of the LED, it moves as if it was actually a dot behind the screen, and helps you aim more accurately. To remove the parallax further, you can use mirrors to increase the distance between the screen and the source, so that the rays from the source can be considered to be originating from infinity. Read more here, the explanation is surely better than mine😢
 |
| Simple version |
 |
| More accurate version |
what do you think about the design? Do share your views in the comments😃


Really Complex for a Greenhorn!!
ReplyDeleteUmm yeah it might be a little on the difficult side for noobs but no problem you can always contact me if you have a query!
DeleteWhen's the tutorial for the AKM coming! ?
ReplyDeleteNext one's gonna be for tuning or "zeroing" a 4X scope!
Delete